The Act of Building: Split Keyboards
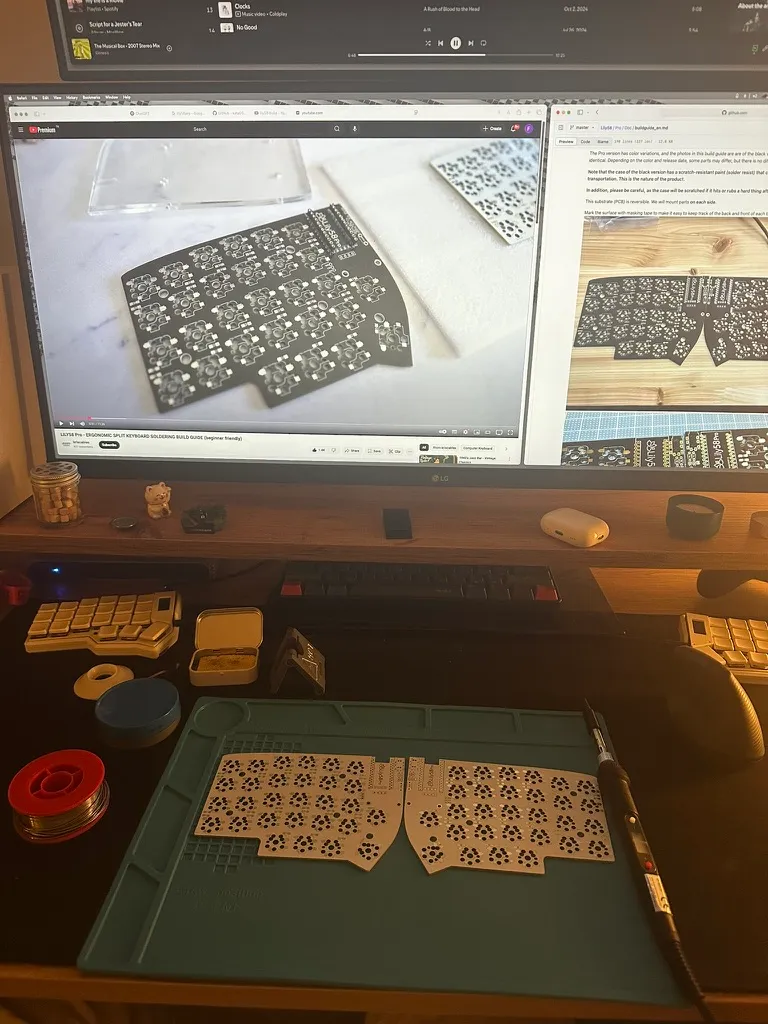
The first time I laid out all the keyboard parts on my desk, PCBs, switches, diodes, it felt strangely familiar, like opening a lego set. That moment reminded me why I believe the act of building is an expression of creativity. The beauty of building a keyboard, just like lego, is that you can follow a set of instructions and work toward a specific end, or you can diverge and make changes along the way. And in the end, you get to display it on your desk. With keyboards, though, the process feels much more rewarding, because it comes with many challenges.
Like many computer enthusiasts I am into mechanical keyboards. At some point, I came across split keyboards and immediately loved the idea. For someone who spends long hours in front of a computer, they are far more ergonomic. However, living in Türkiye makes this hobby a bit tricky. It’s either very expensive, or sometimes not even possible, to ship a split keyboard kit here.
Luckily I found out that there is a local community, MechIstanbul. When I visited the telegram group, I saw a community ready to help and eager to share. Communities like this make it much easier for beginners to dive into a new hobby, thanks to the collective knowledge and support. I enabled notifications for their second-hand channel and started waiting for new listings.
One day, I finally got the notification I had been waiting for. There was a Corne kit available. I contacted the seller, who was incredibly helpful, and in the end I got everything I needed, along with a macropad.
Domo: Testing Ground
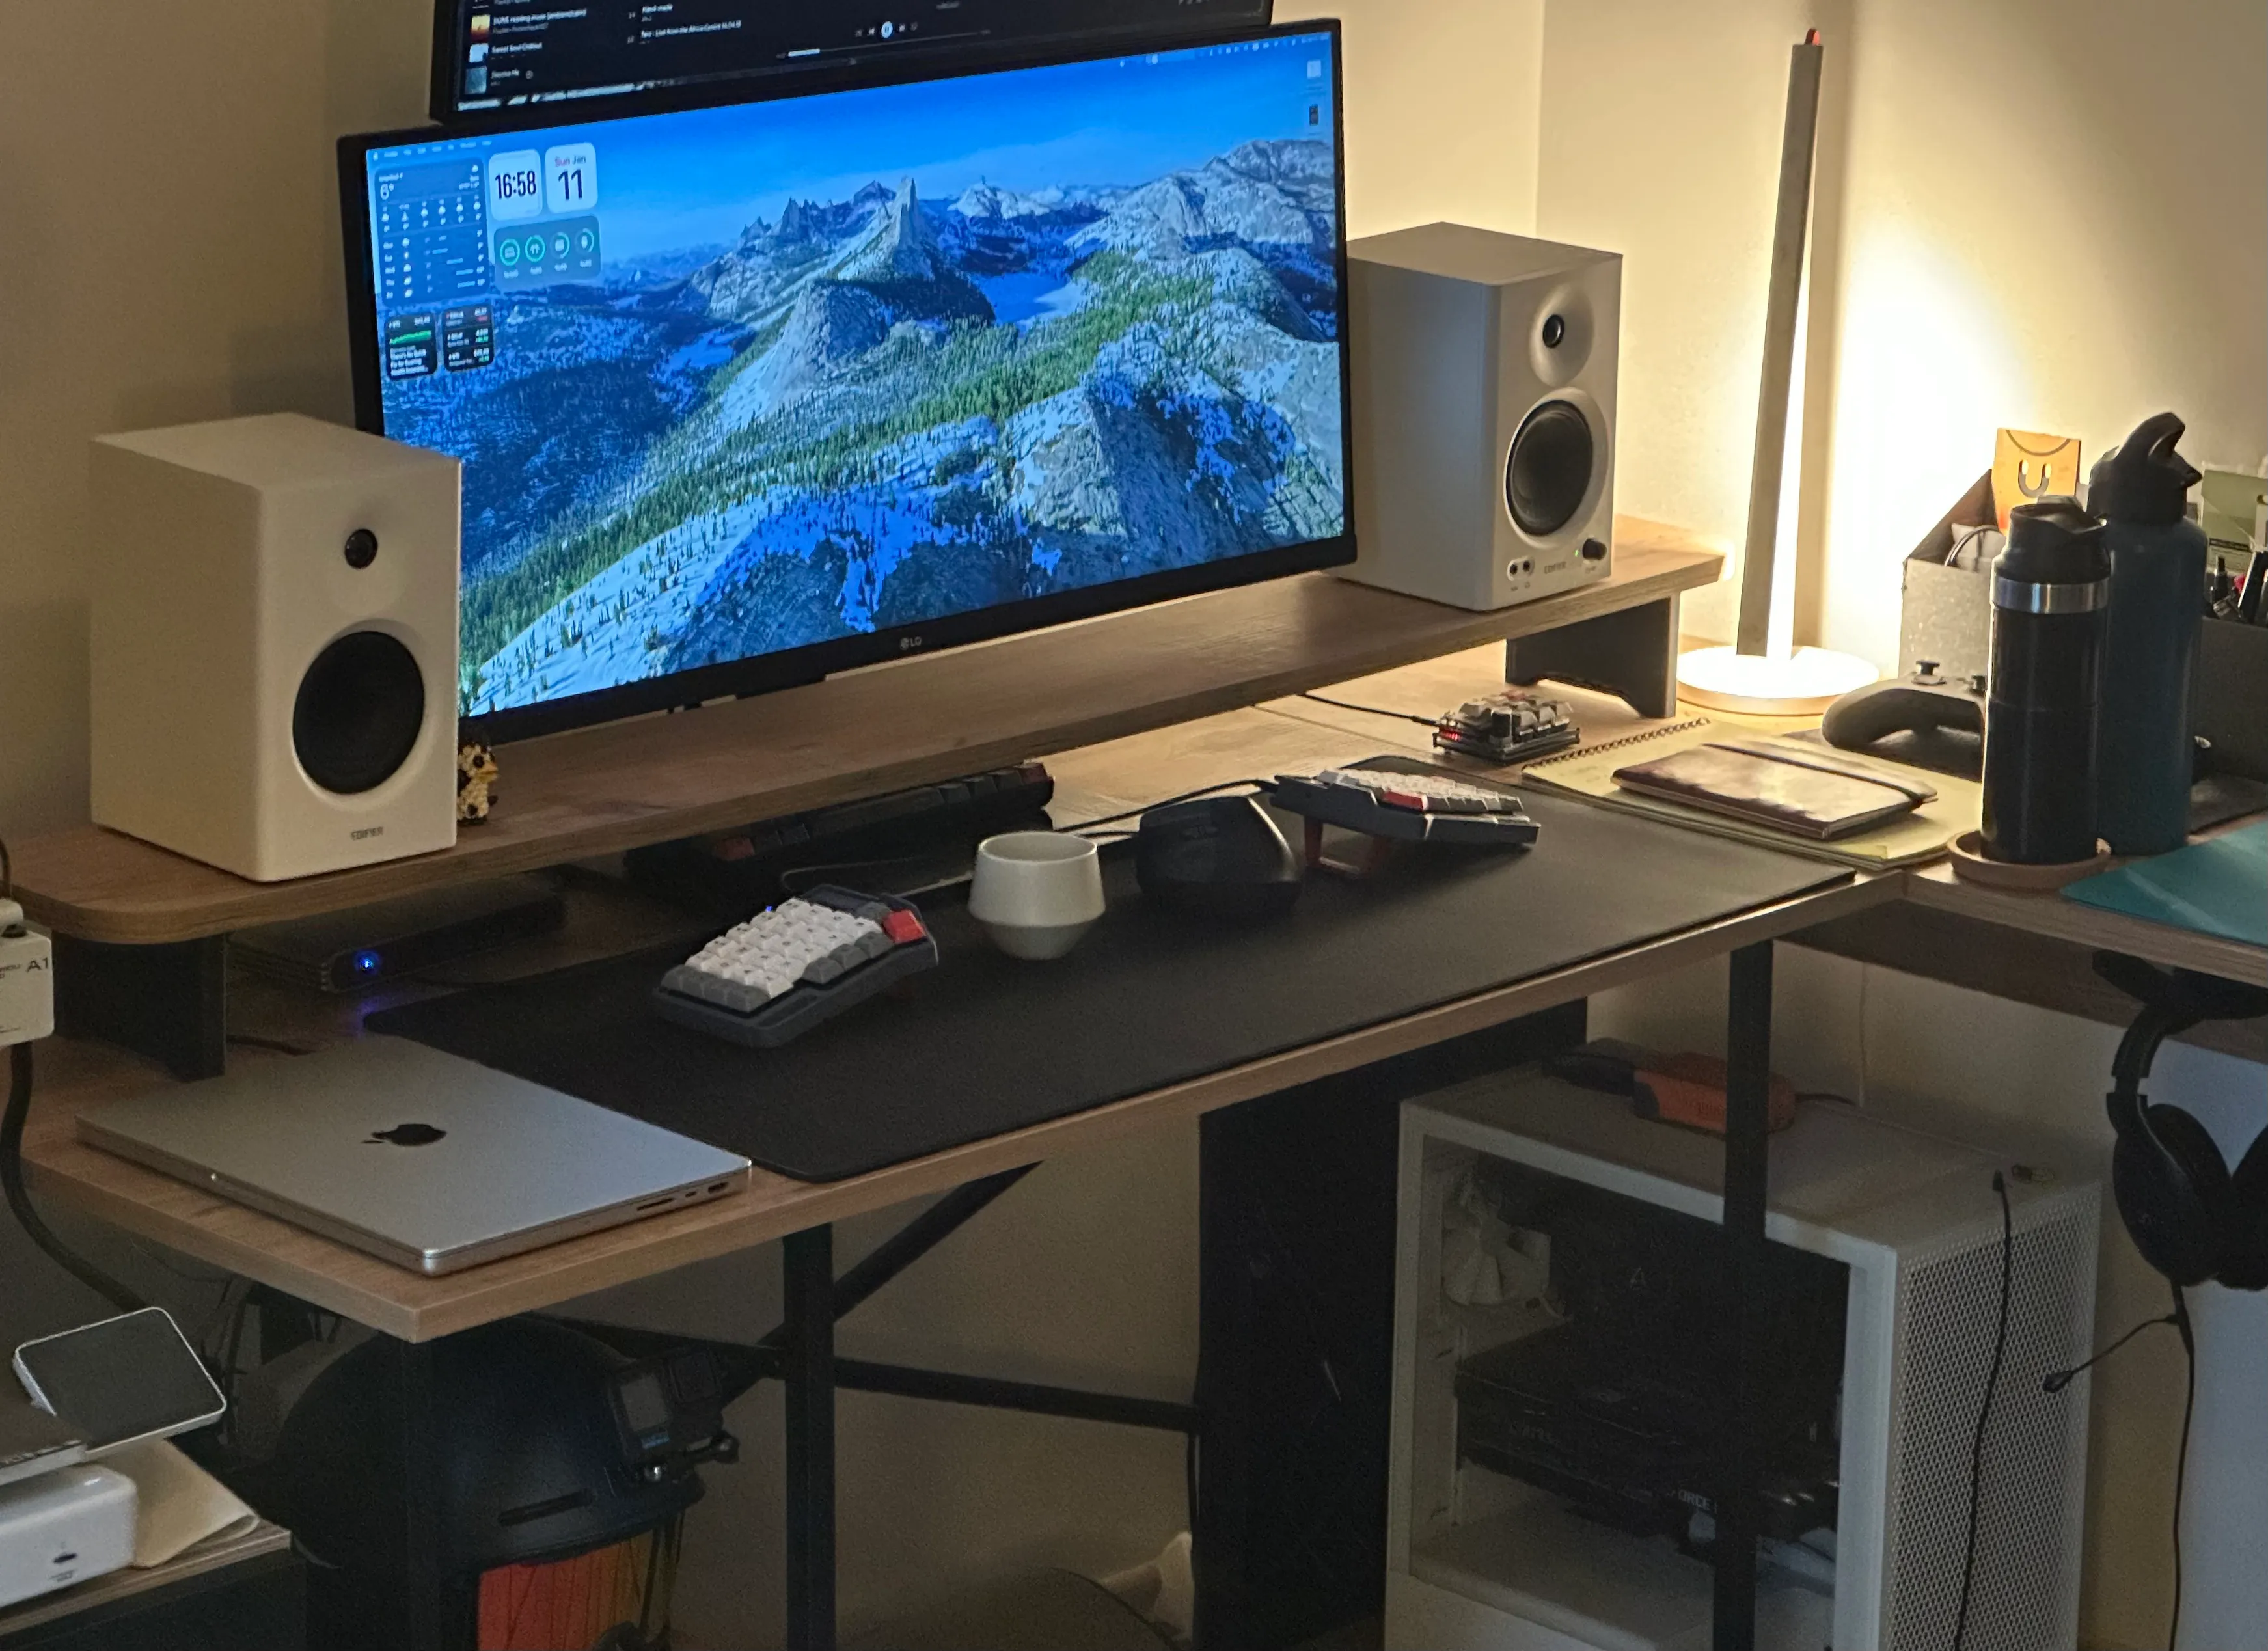
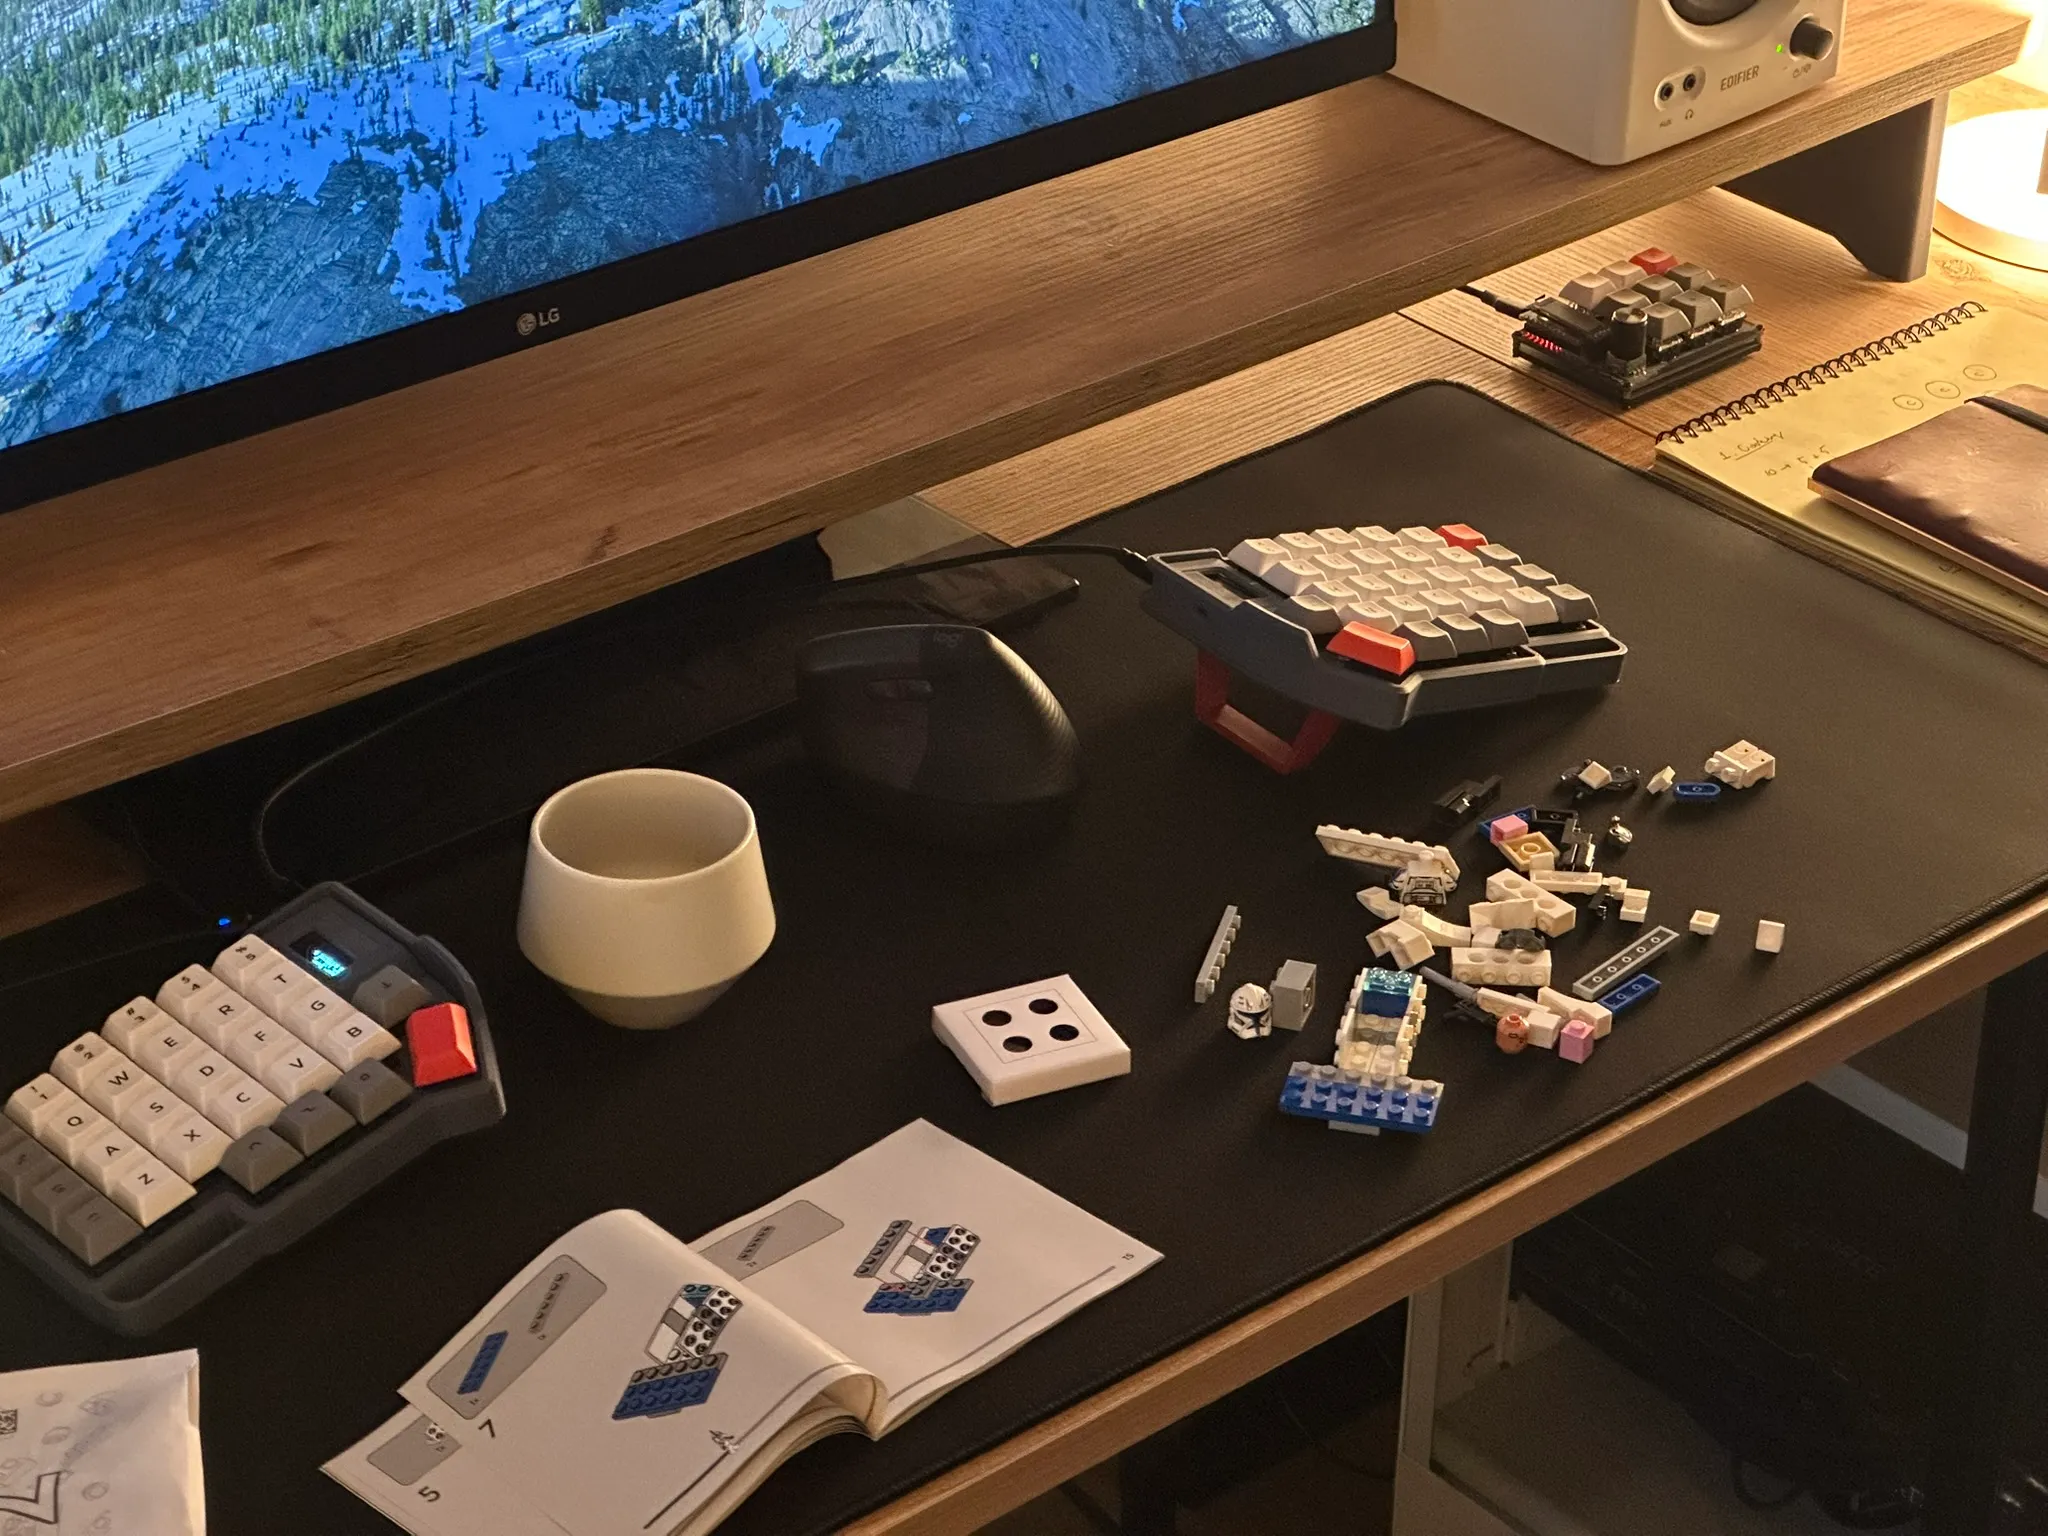
Since split keyboard kits are hard to get, before rushing straight into the Corne, I started with a Domo macropad—a simple, expandable 3×3 macropad.
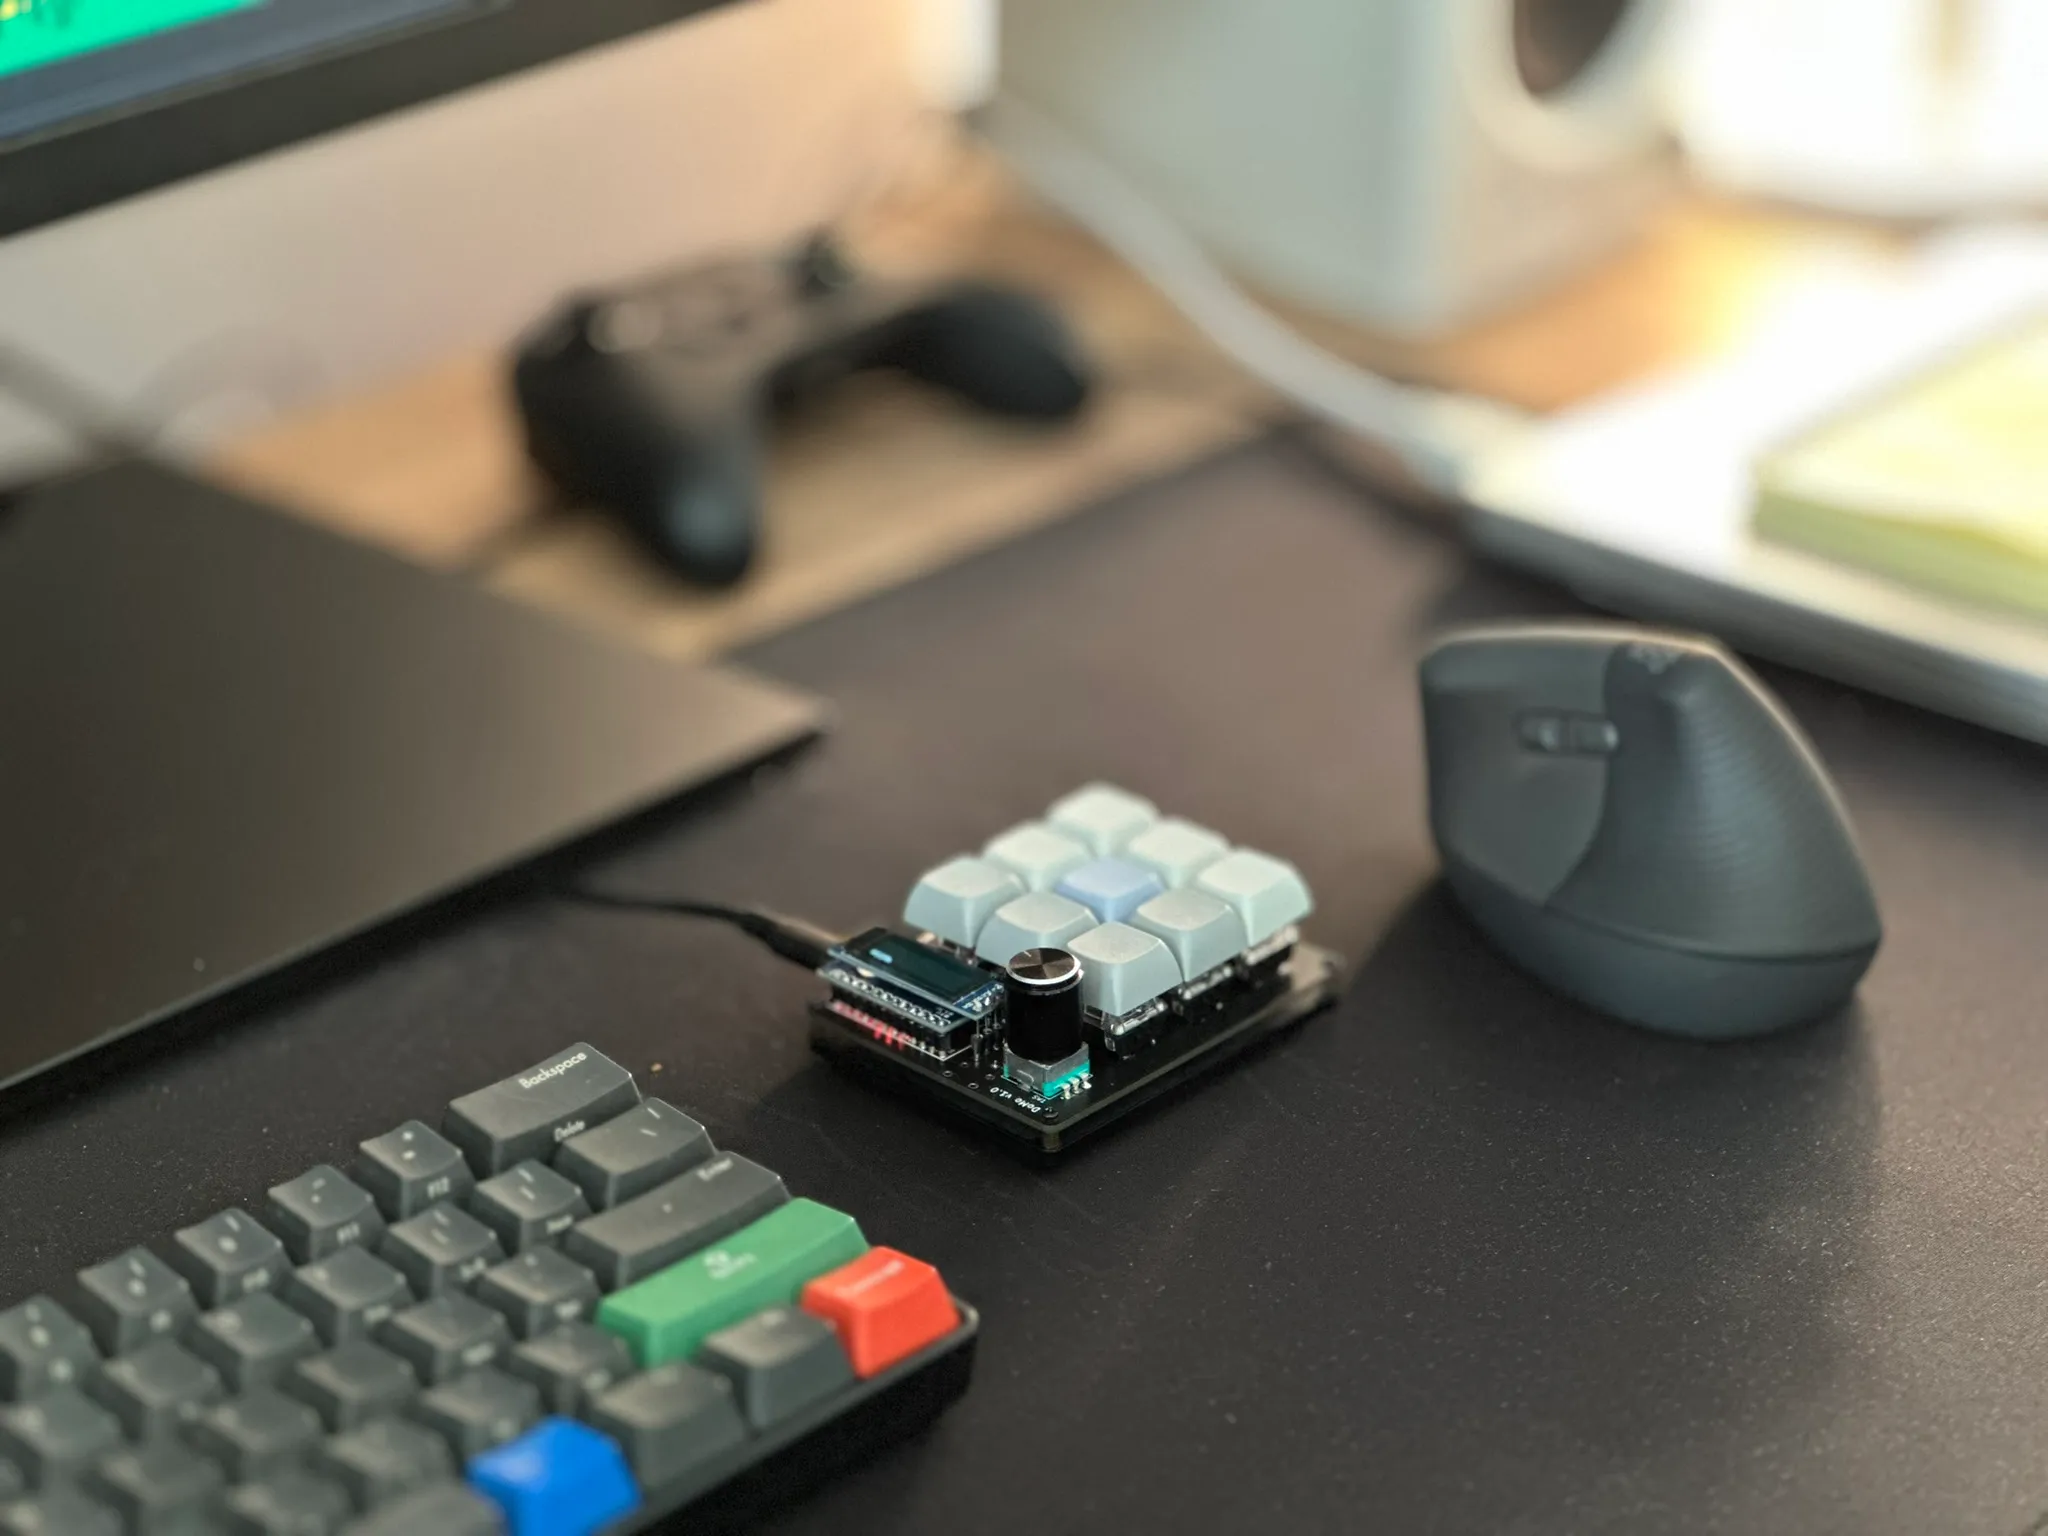
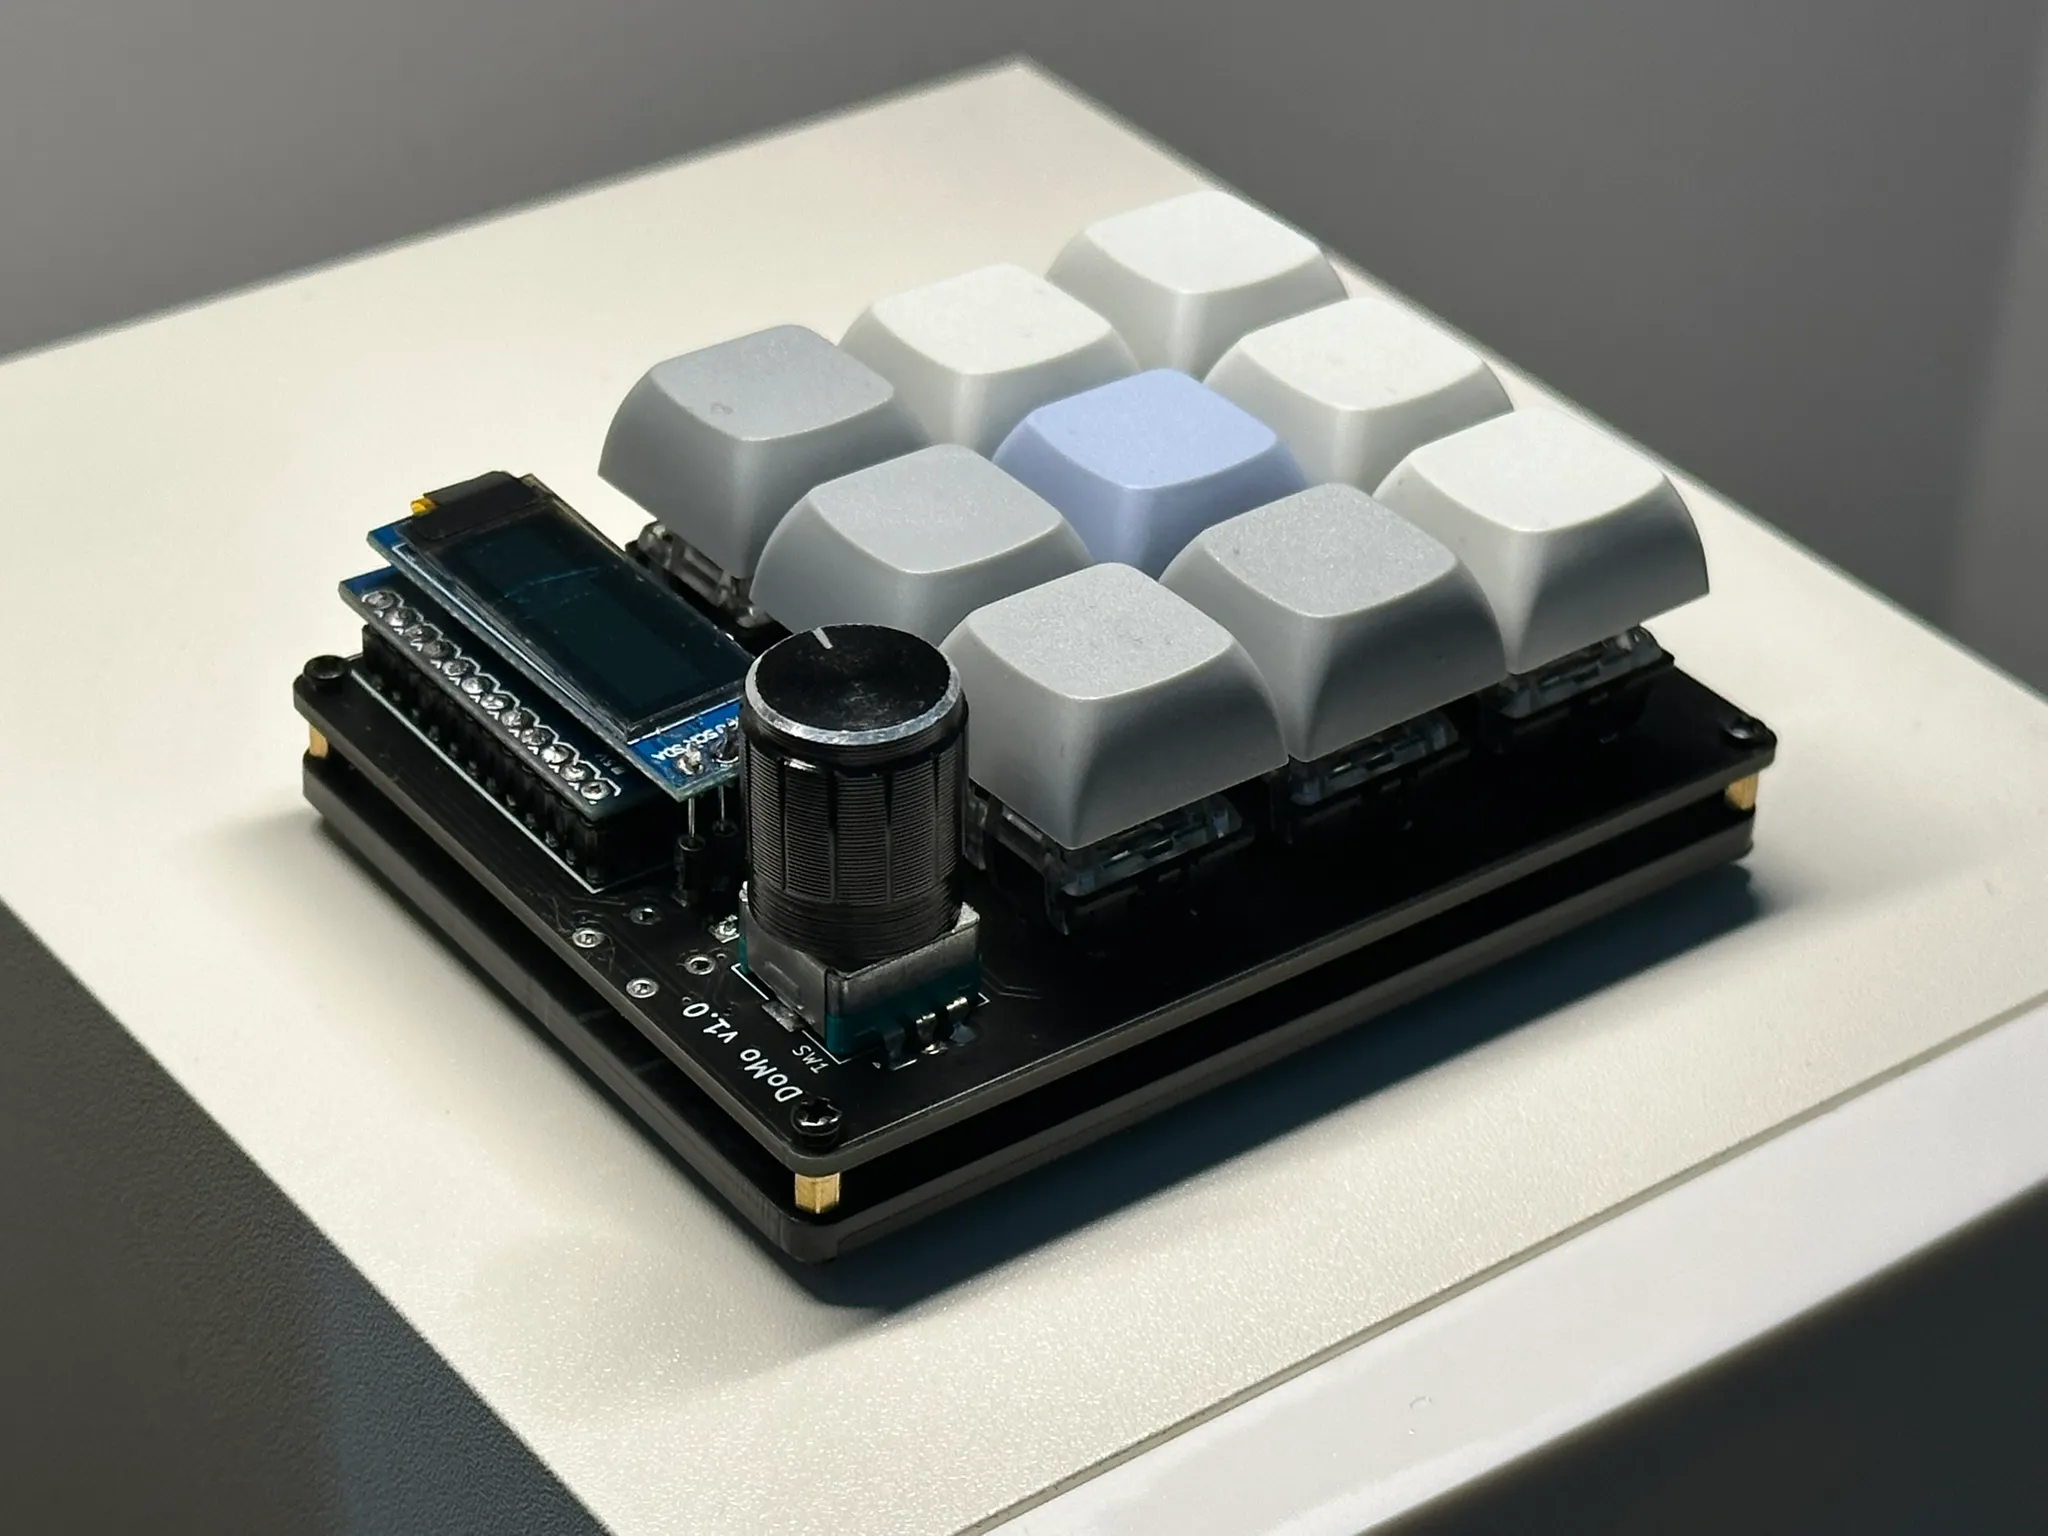
It was a tracer bullet to experience the entire process from start to finish. It turned out to be a great decision. By the time I finished the macropad, I had upgraded my soldering iron, bought a multimeter to verify diode connections, and gained confidence.
Corne: First Real Build
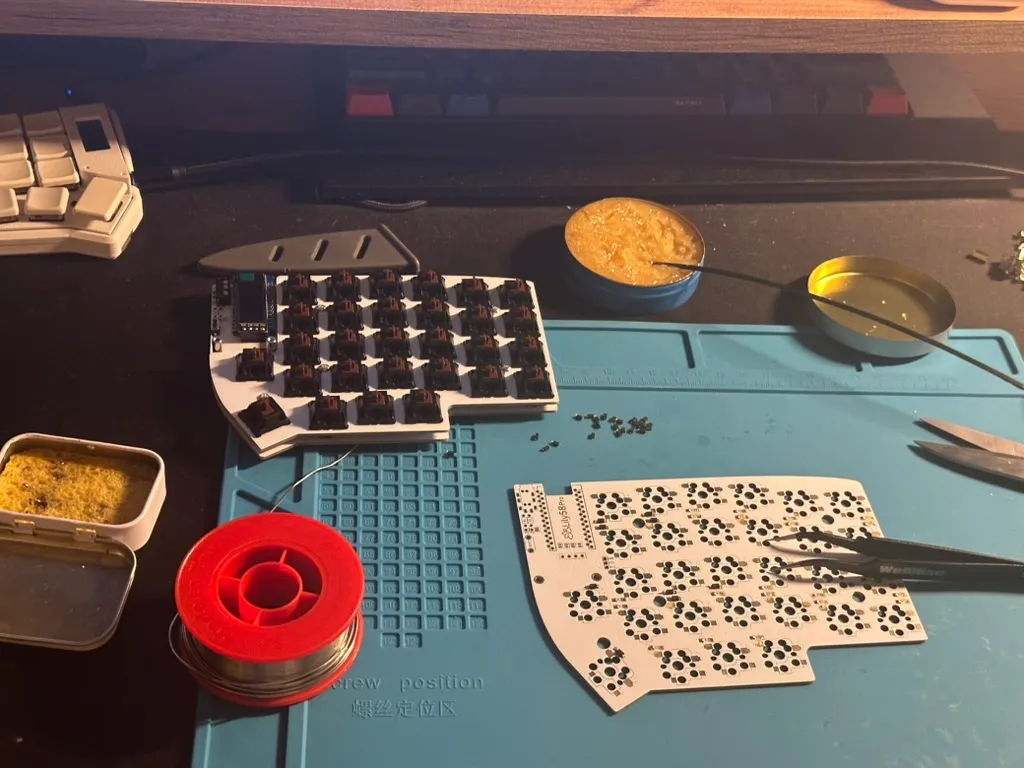
Soldering the Corne itself went surprisingly smoothly. Until it didn’t.
The LEDs were much harder than I expected, they’re tiny. They’re connected serially by design, so if even one isn’t soldered properly, the rest won’t work. At one point, I soldered an LED in the wrong orientation. When I tried to remove it, I accidentally peeled a pad off the PCB.
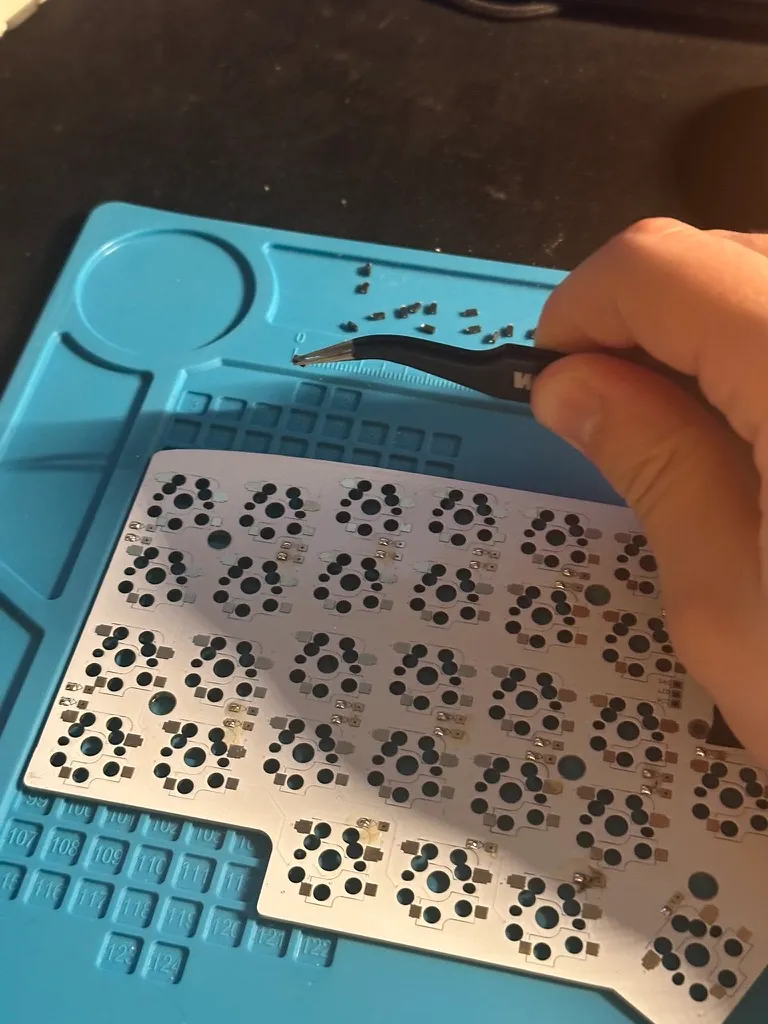
Tiny 1N4148W Diodes
After a brief moment of disappointment, I had a realization: I don’t really look at the keyboard while typing anyway. So I decided I didn’t like backlighting anymore. Problem solved.
The Corne also became my introduction to the firmware side of custom keyboards. I learned what QMK and ZMK are, how keymaps actually work under the hood, custom key behaviors, status indicators and animations in OLED screens.
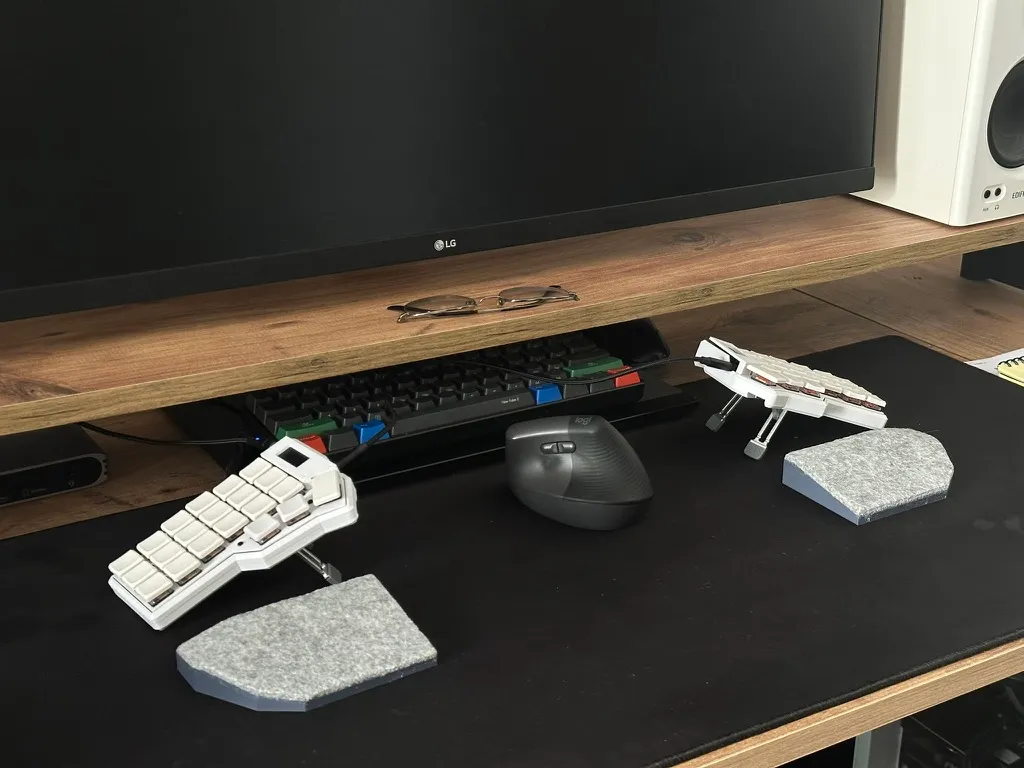
Corne keyboard
Daily Use Reality Check
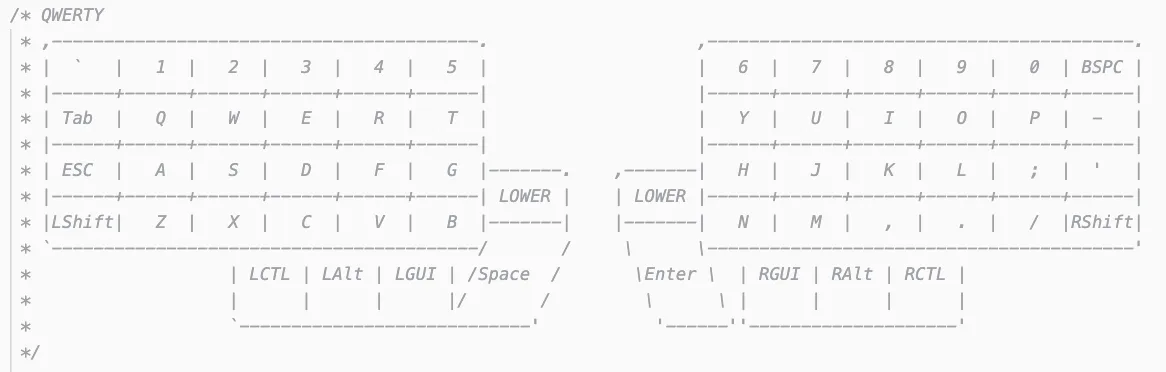
The Corne is a good ergonomic keyboard with a steep learning curve. It’s rewarding if you’re willing to invest time into configuration.
With only 42 keys and no number row, there are very limited possibilities for modifiers like Cmd, Shift, Alt, and Ctrl.
To compensate, you need several layers to cover everything.
This felt manageable at first, but for me the real issue was context switching.
I also use my MacBook Pro’s built-in keyboard while on the go. The layout I built for the Corne doesn’t map directly to a standard keyboard, so switching between them breaks muscle memory. More than once, I found myself pressing the wrong key combinations on my macbook keyboard, instinctively trying to switch layers that weren’t there. It became harder to type naturally on either.
Additionally, the Kailh low-profile red switches felt a bit too heavy for my taste.
Lily58: Finding Balance
While planning my Tokyo trip, I started looking for keyboard shops in Japan and found Yusha Kobo near Akihabara, Tokyo.
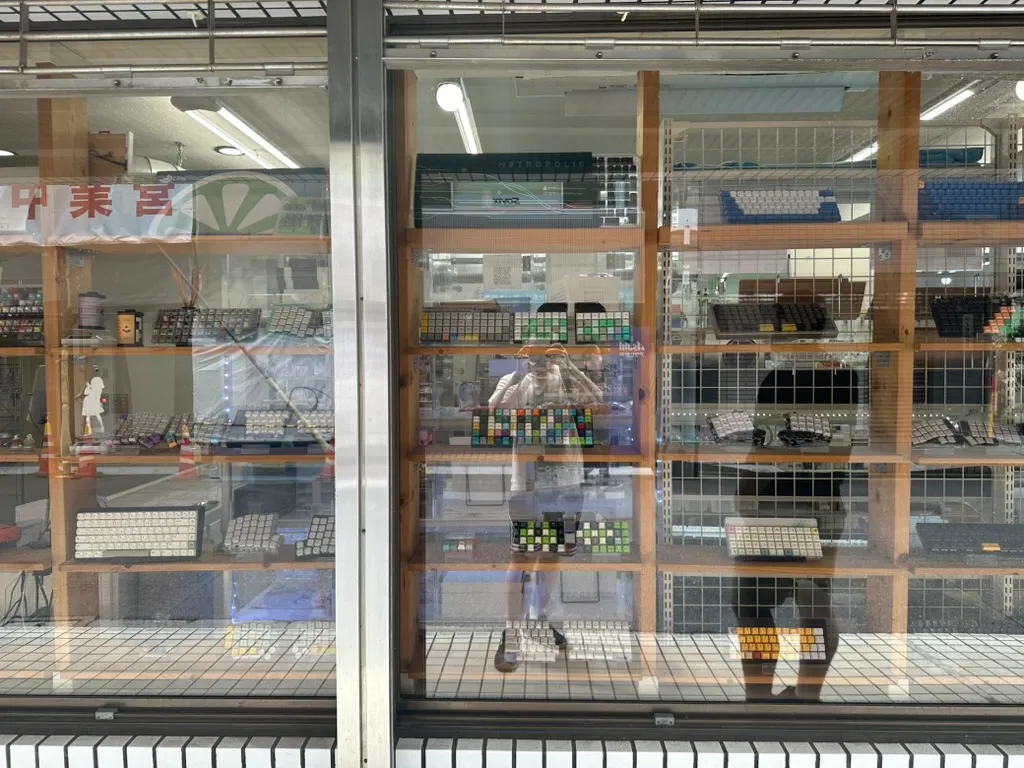
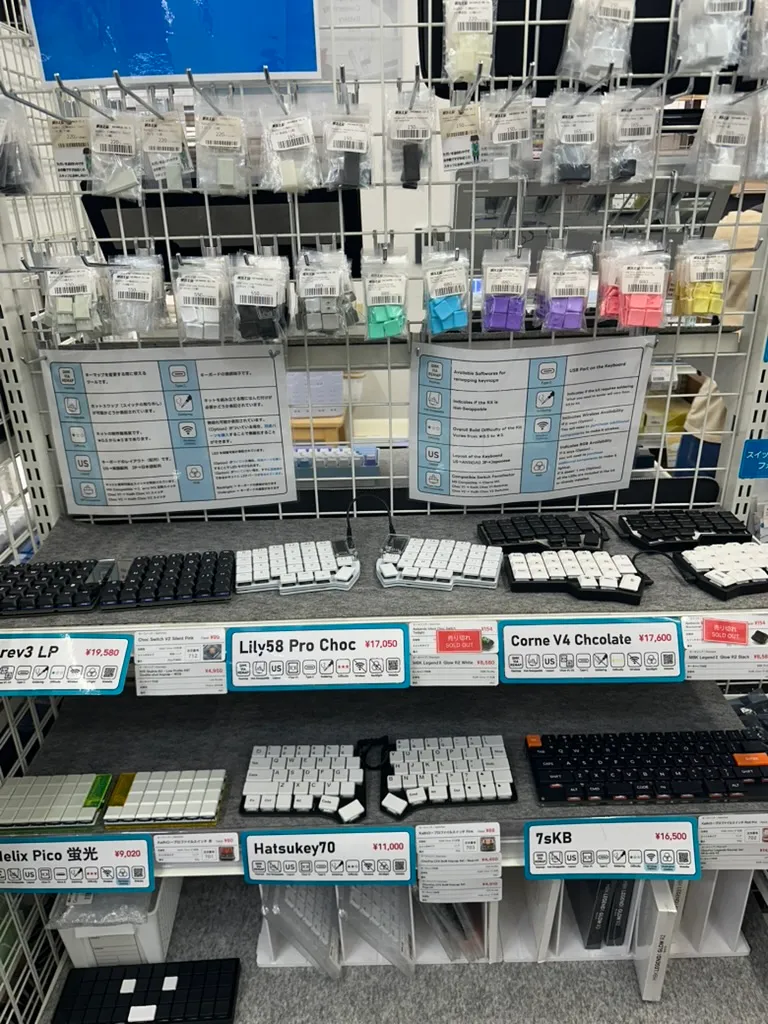
Yusha Kobo
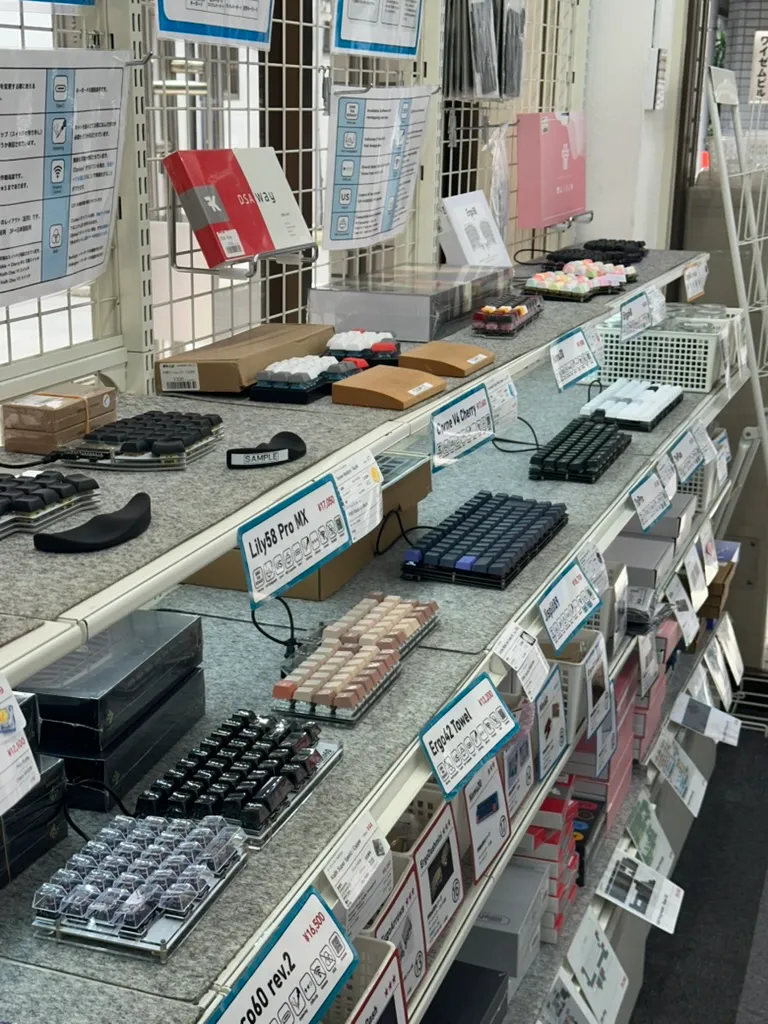
I picked up a Lily58 split keyboard kit along with DSA Way keycaps. I went with familiar switches, Cherry MX Browns, the same ones I’ve used for the past five years.
At this point, soldering felt genuinely fun. Everything was familiar, calm, and enjoyable.
For the casing I used Manta58/s 3D Print Case. I really liked the design, and the magnetic tenting feet worked surprisingly well.
This time, I intentionally kept the layout boring, much closer to a standard keyboard.

In the future I want to build a wireless split keyboard, but they are even harder to obtain because of the batteries. For now though, this setup finally feels like it fits how I actually work.